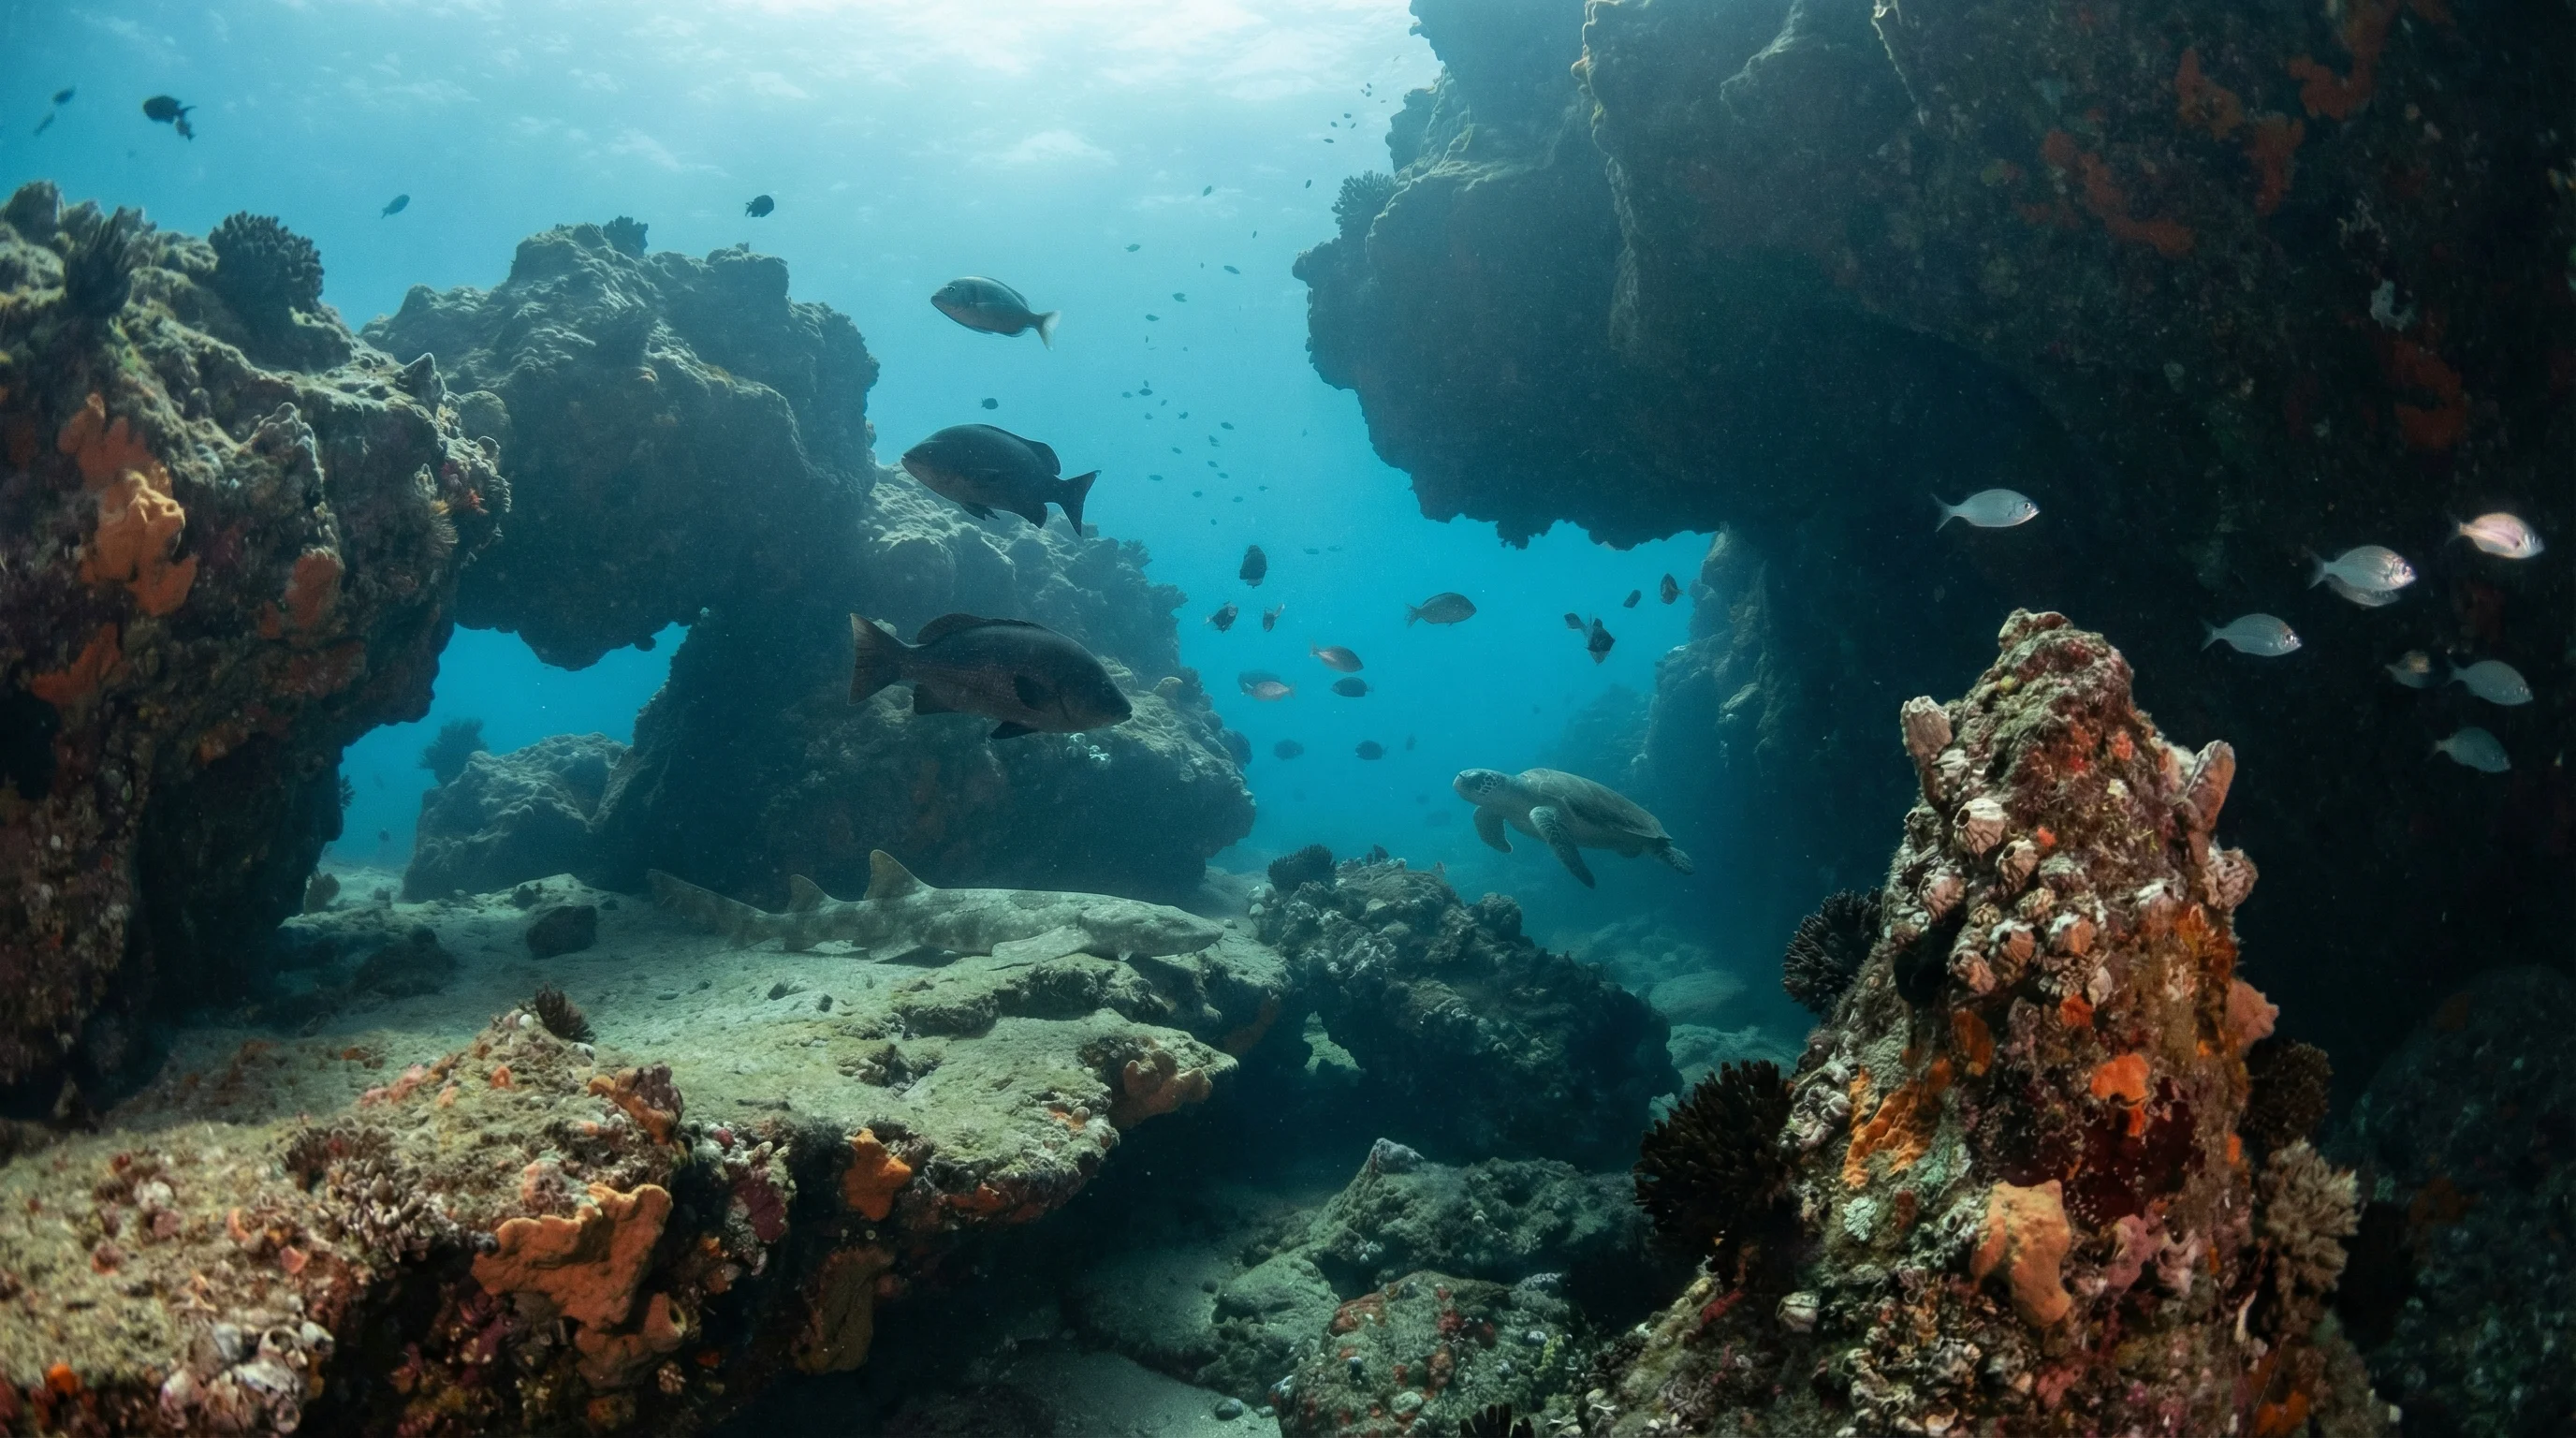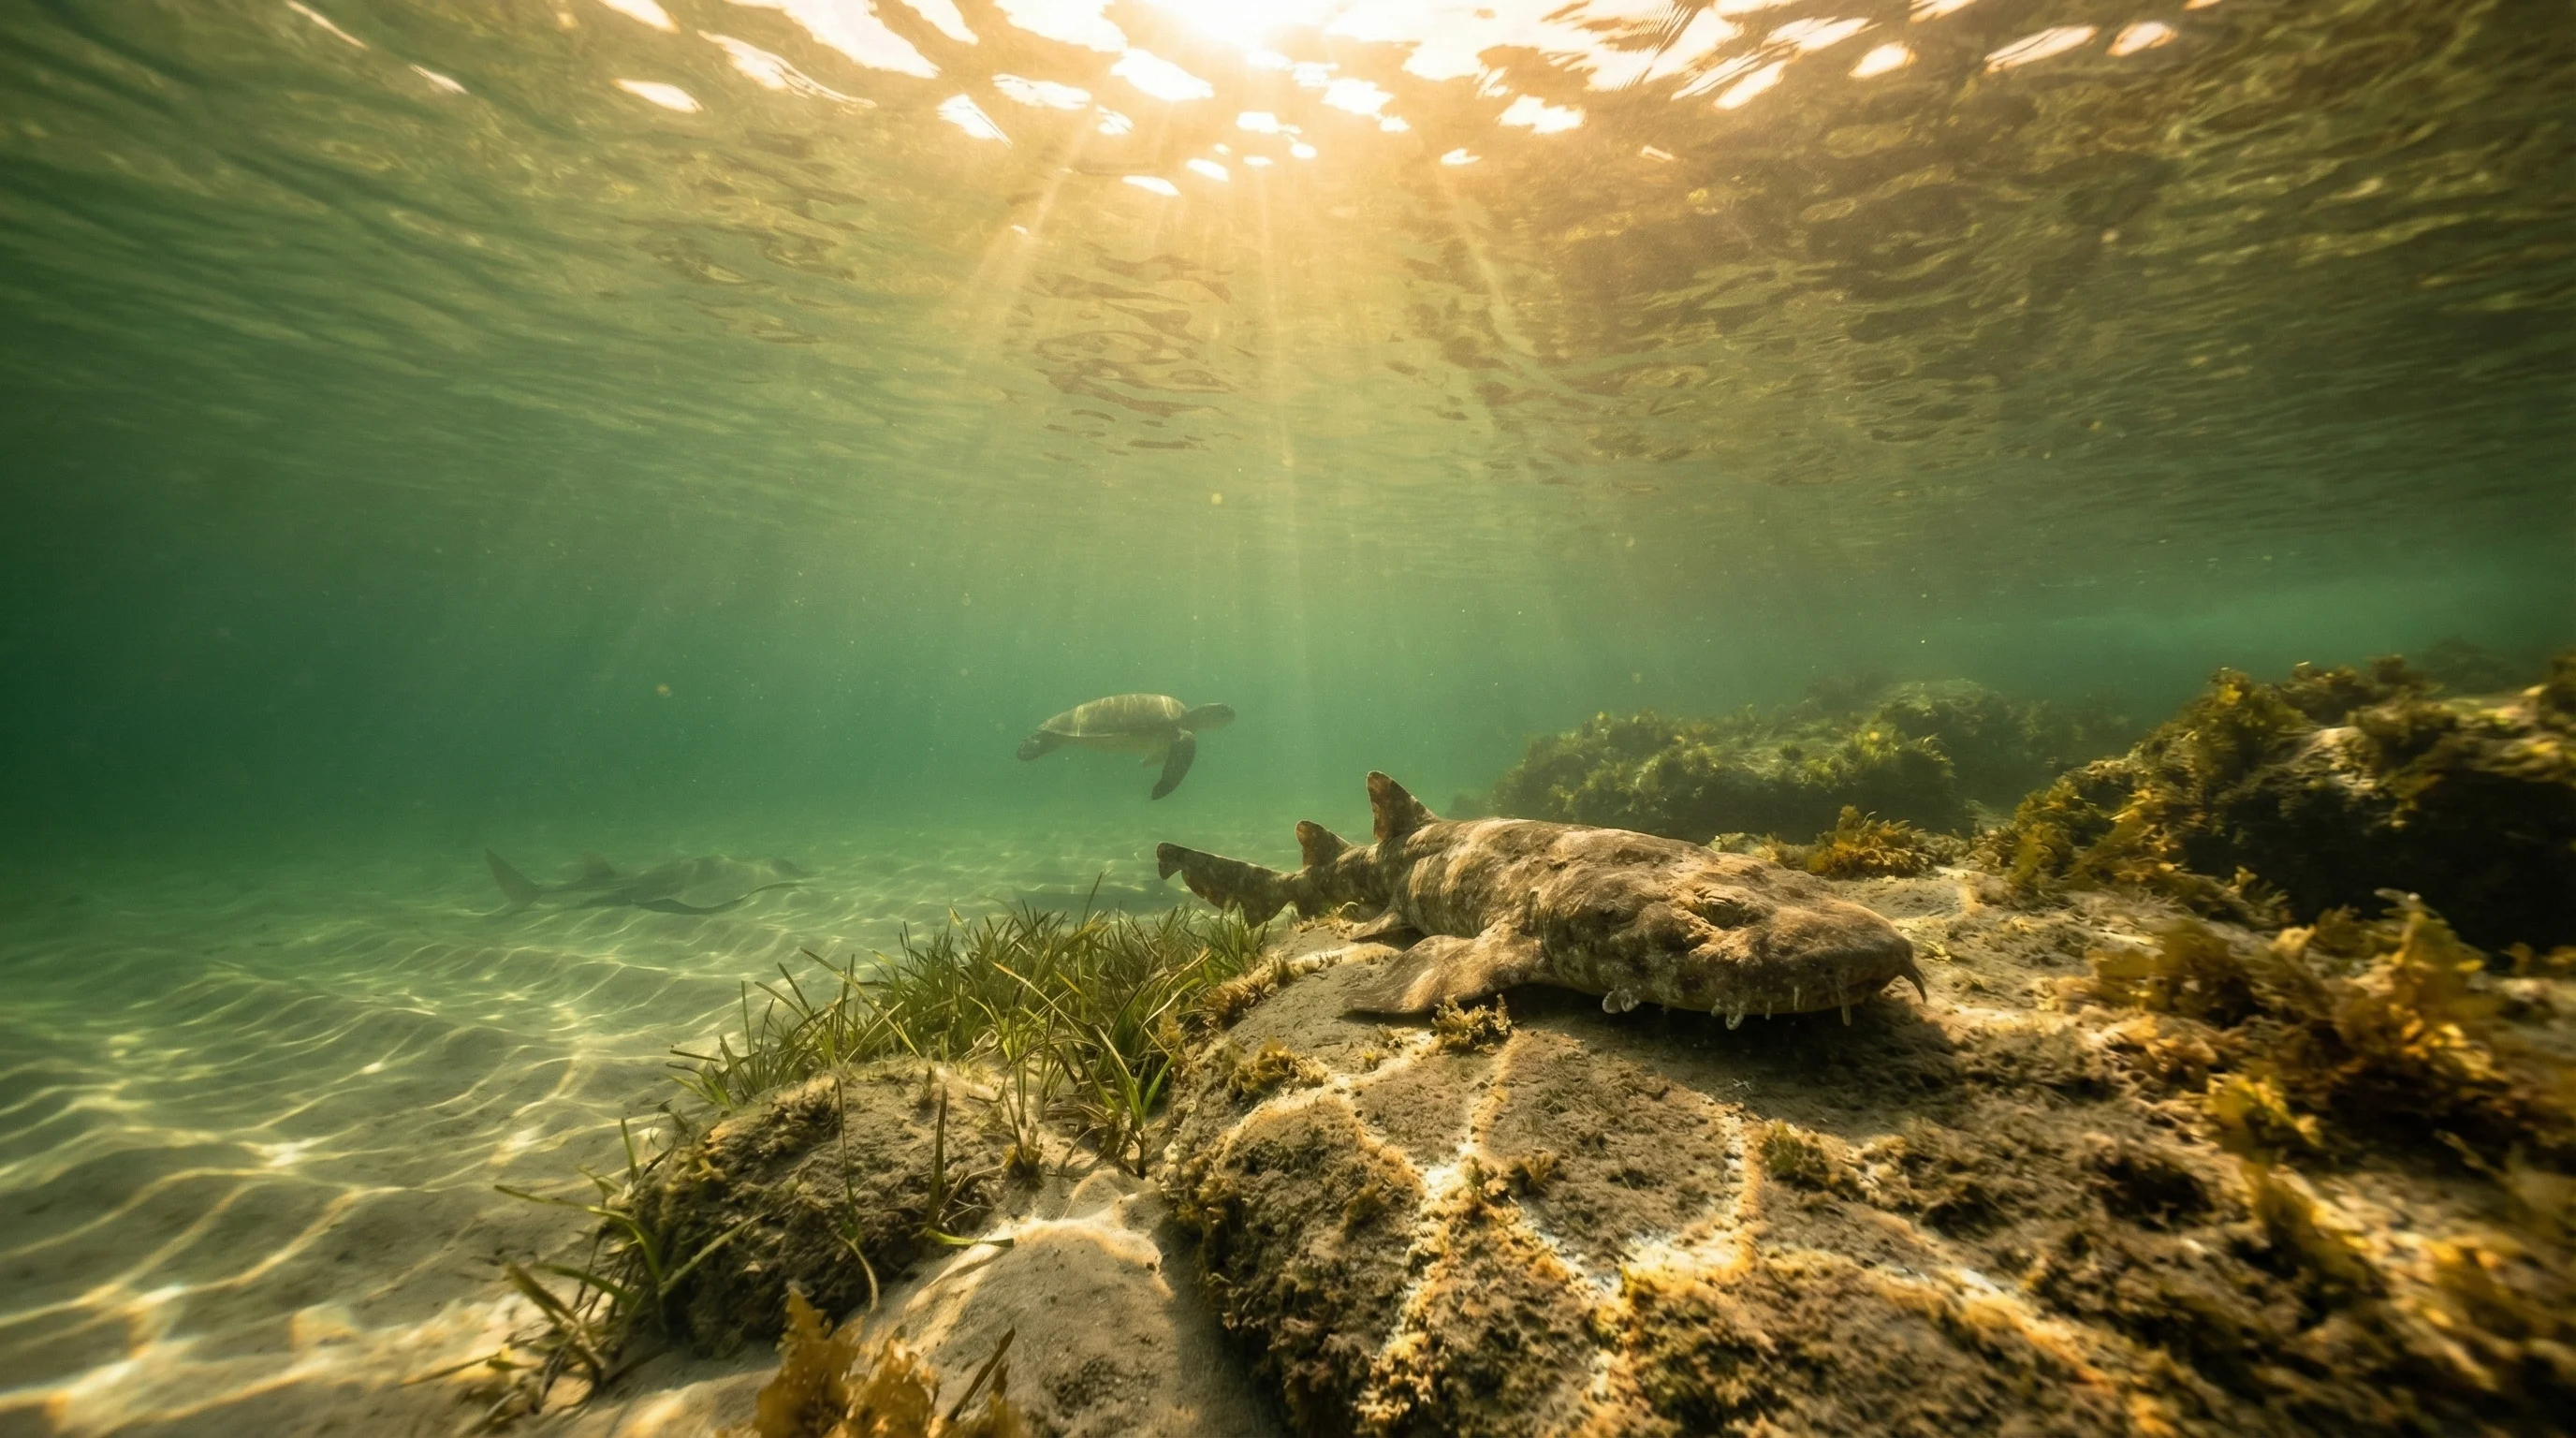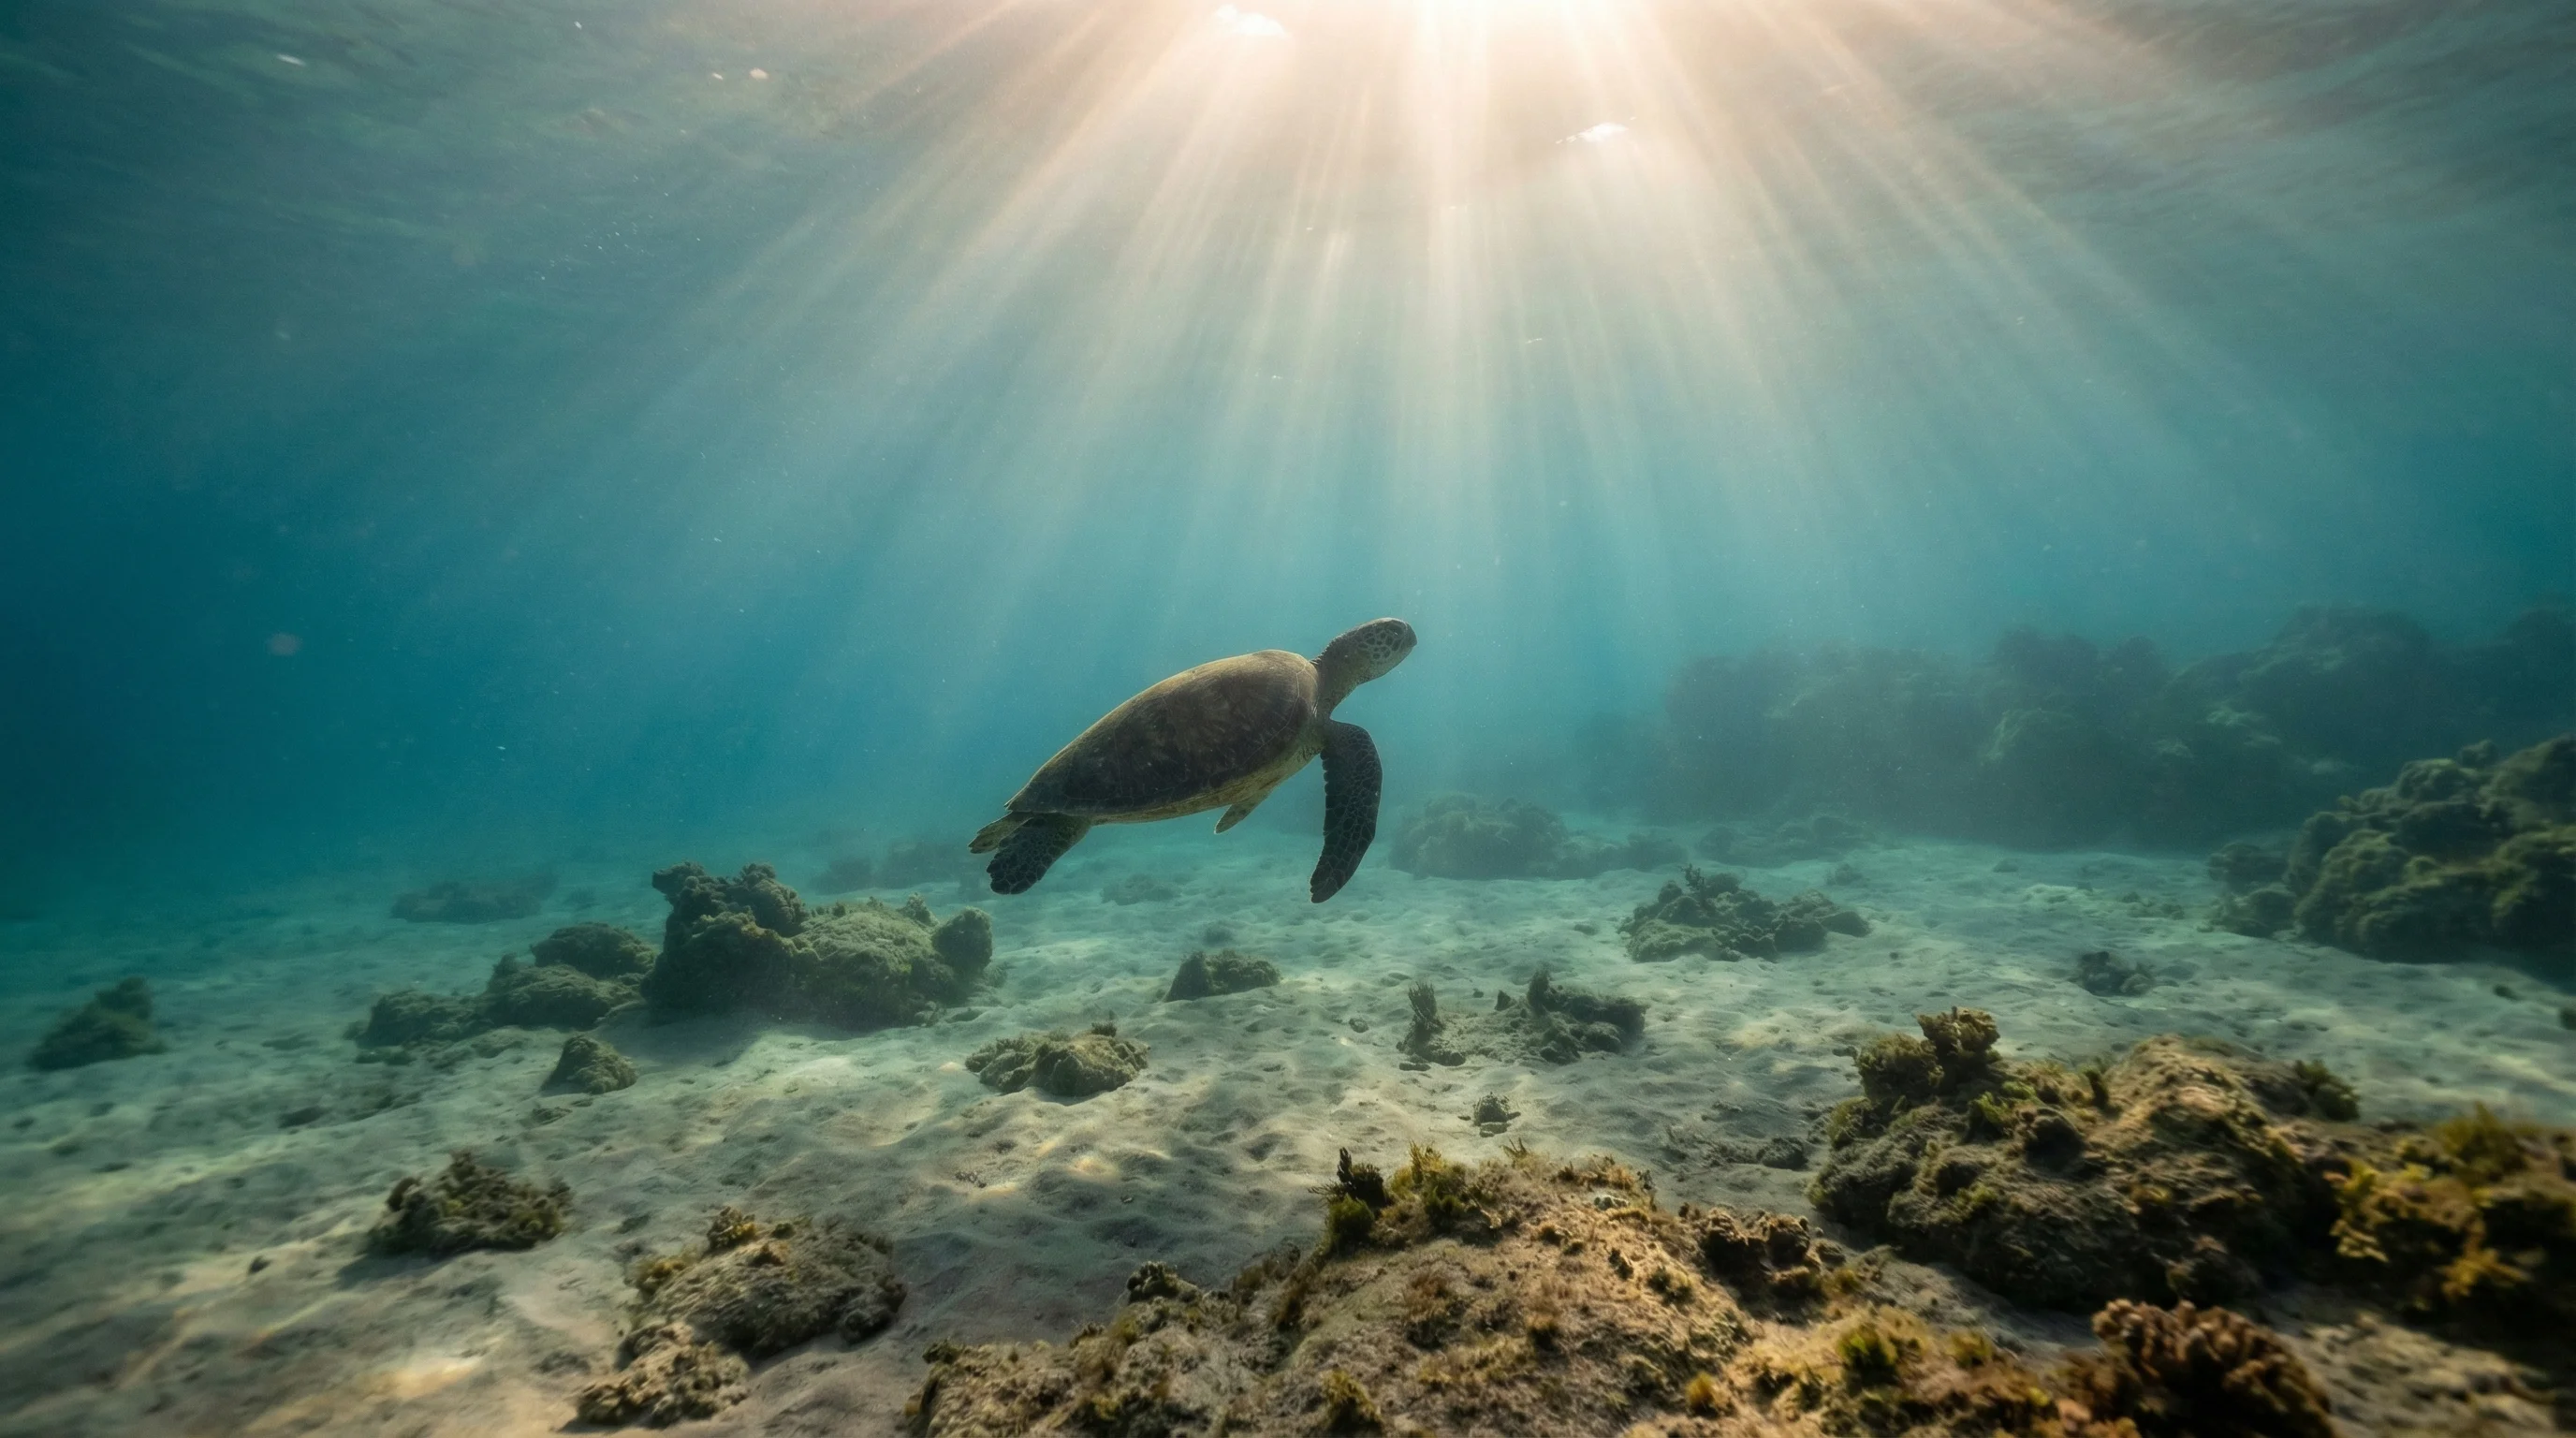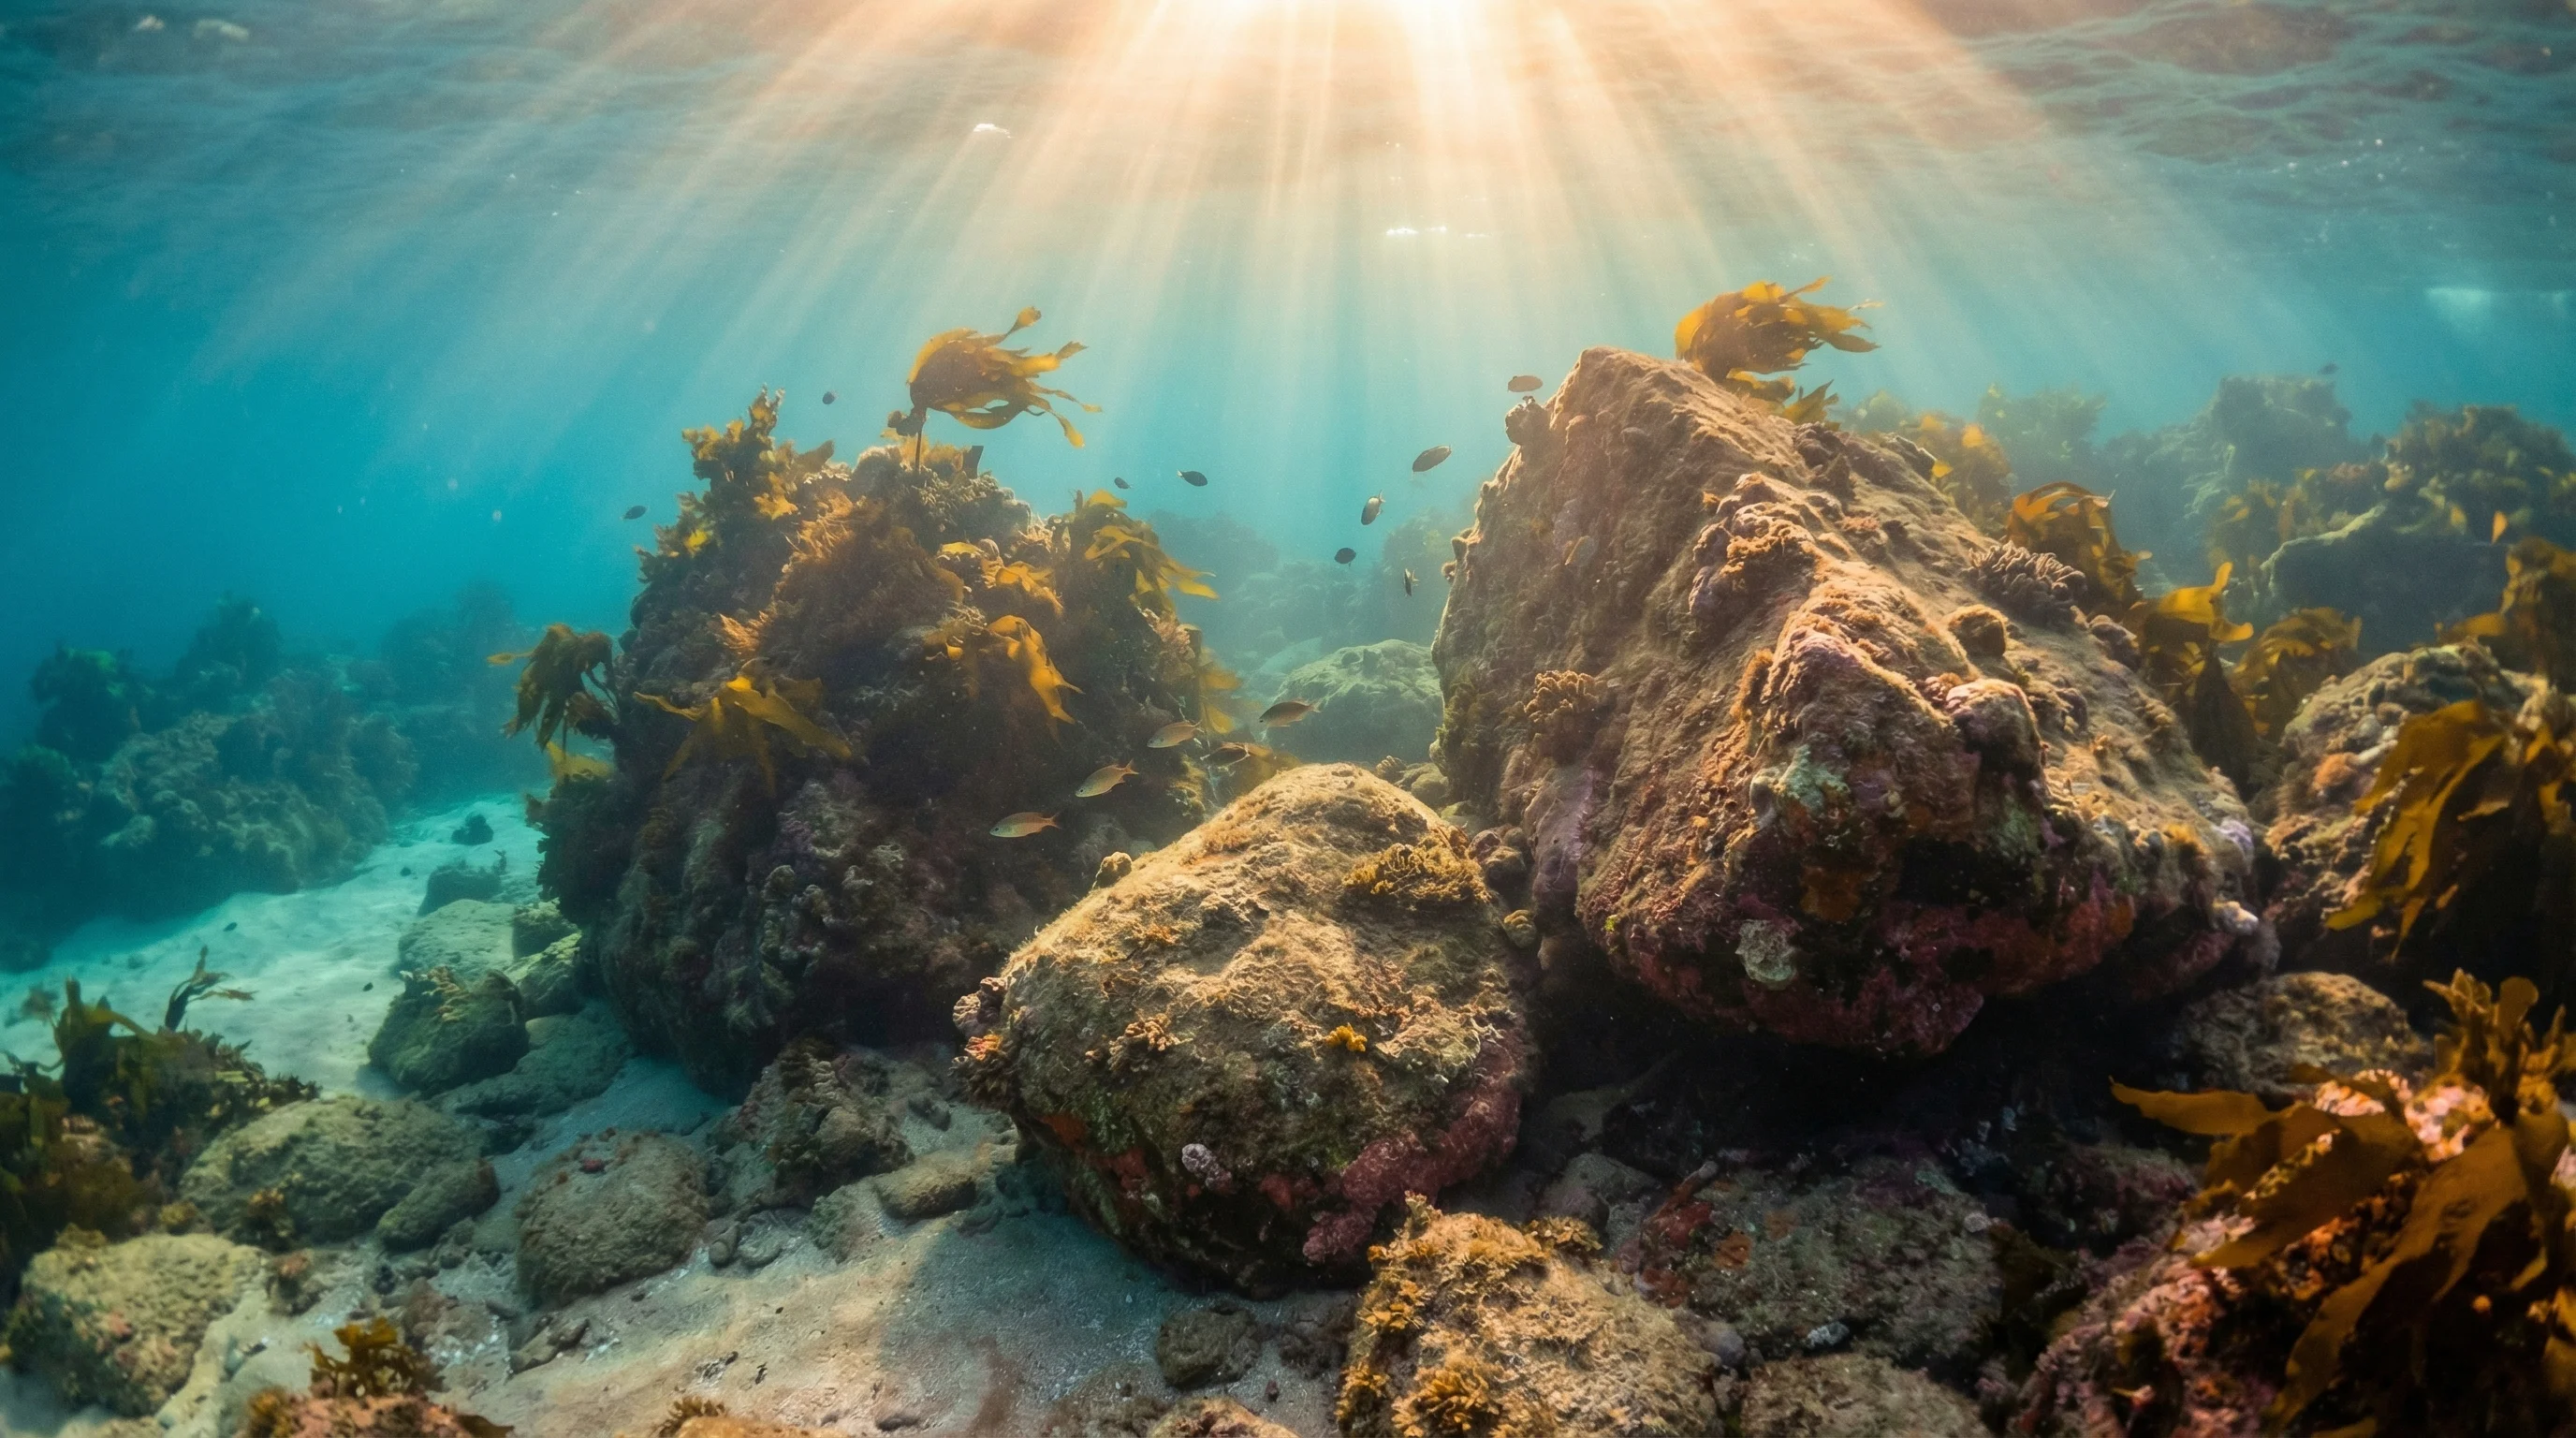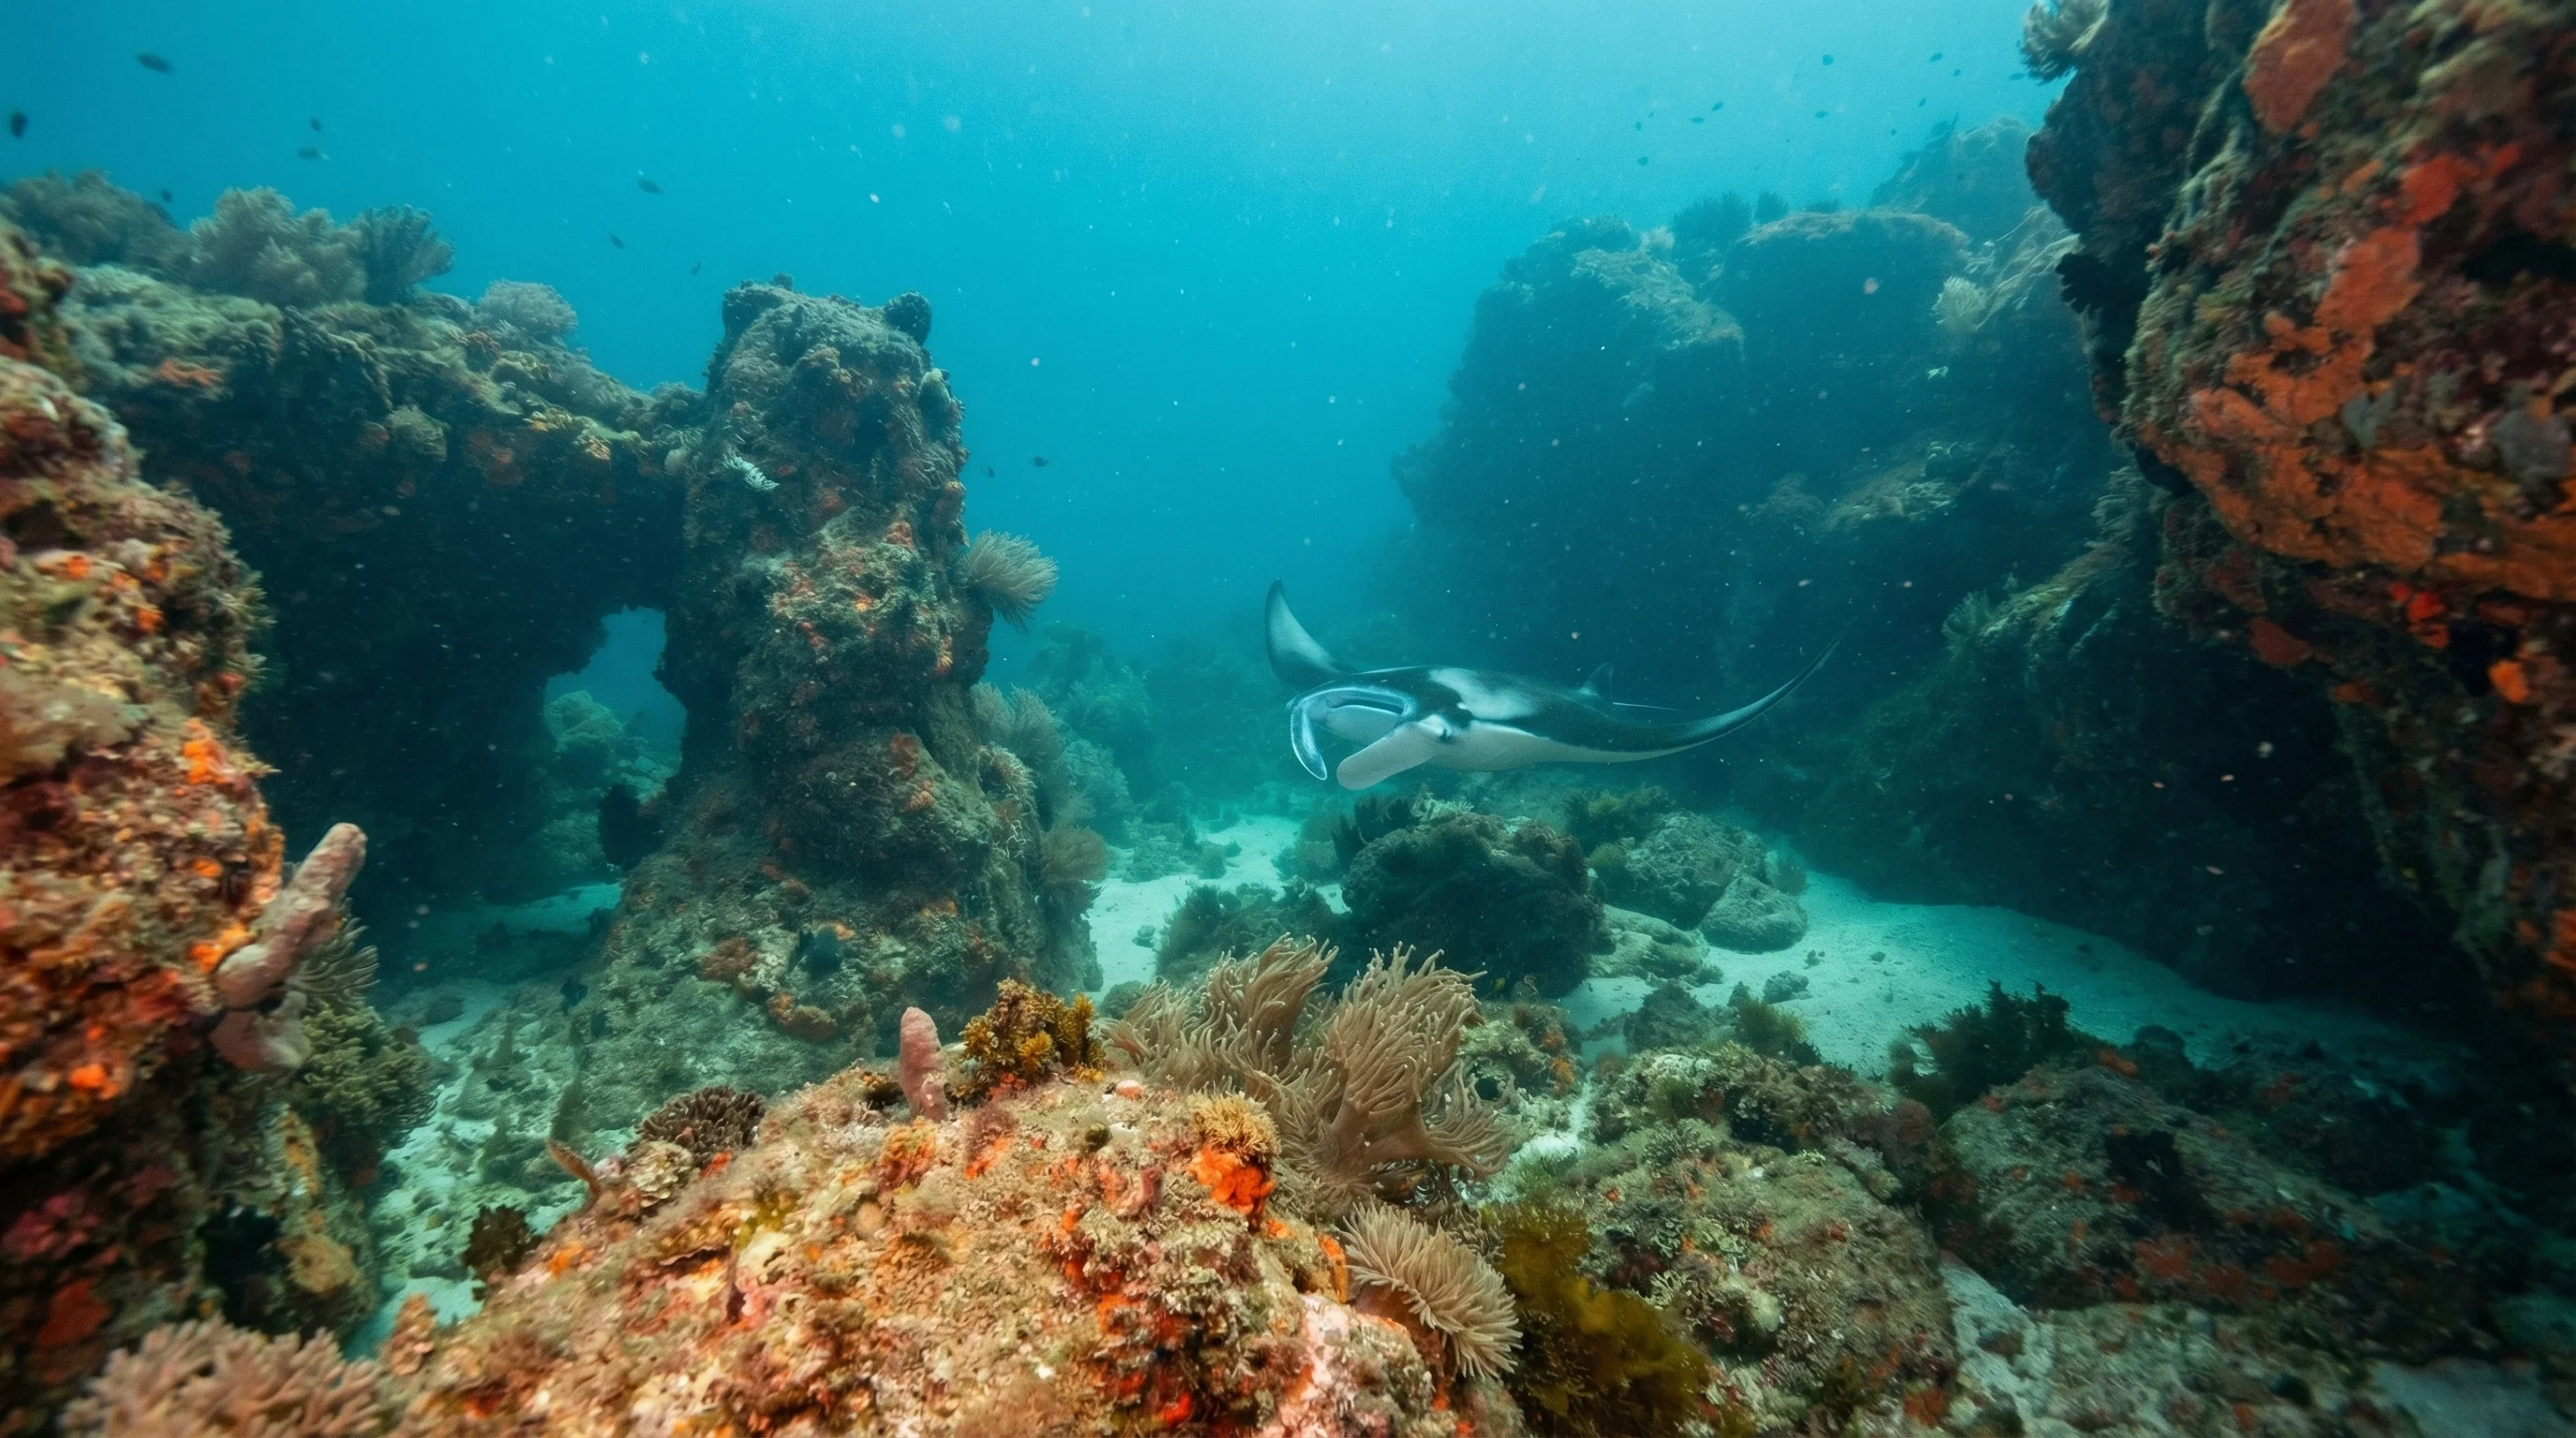
Belongil Beach offers an excellent introduction to shore diving, with easy access from the sand and gentle depths that stay between 1 and 7 metres. You'll explore a small reef system and scattered wreckage that attracts a surprising variety of marine life. The shallow waters make this an ideal spot for building your confidence underwater. Visibility changes with conditions, so be prepared for anything from crystal clear to murky. You'll often spot wobbegong sharks resting on the sand, rays gliding past, and green turtles cruising through. Look carefully around the reef structure for eels tucked into crevices, octopus camouflaged against the rocks, and crayfish hiding in the shadows. Large schools of fish frequently sweep through the area. Mild currents keep things manageable, though you'll need to time your entry and exit carefully. Surf and surge can pick up, particularly when conditions deteriorate. The shore entry requires wading through the break, so wait for sets to pass. Stay alert for boat traffic, especially during busy periods. Parking and toilets are available near the beach. The site works year-round, though calmer days obviously make for easier diving. The combination of accessible depth, decent marine life, and shore convenience makes Belongil Beach a practical choice for newer divers wanting ocean experience.
-28.63900, 153.61370
Visibility can shift significantly depending on swell and recent weather, so check conditions before you go and aim for calmer days for a clearer look at the wreck. Ask locally about current conditions, as facility availability can vary.
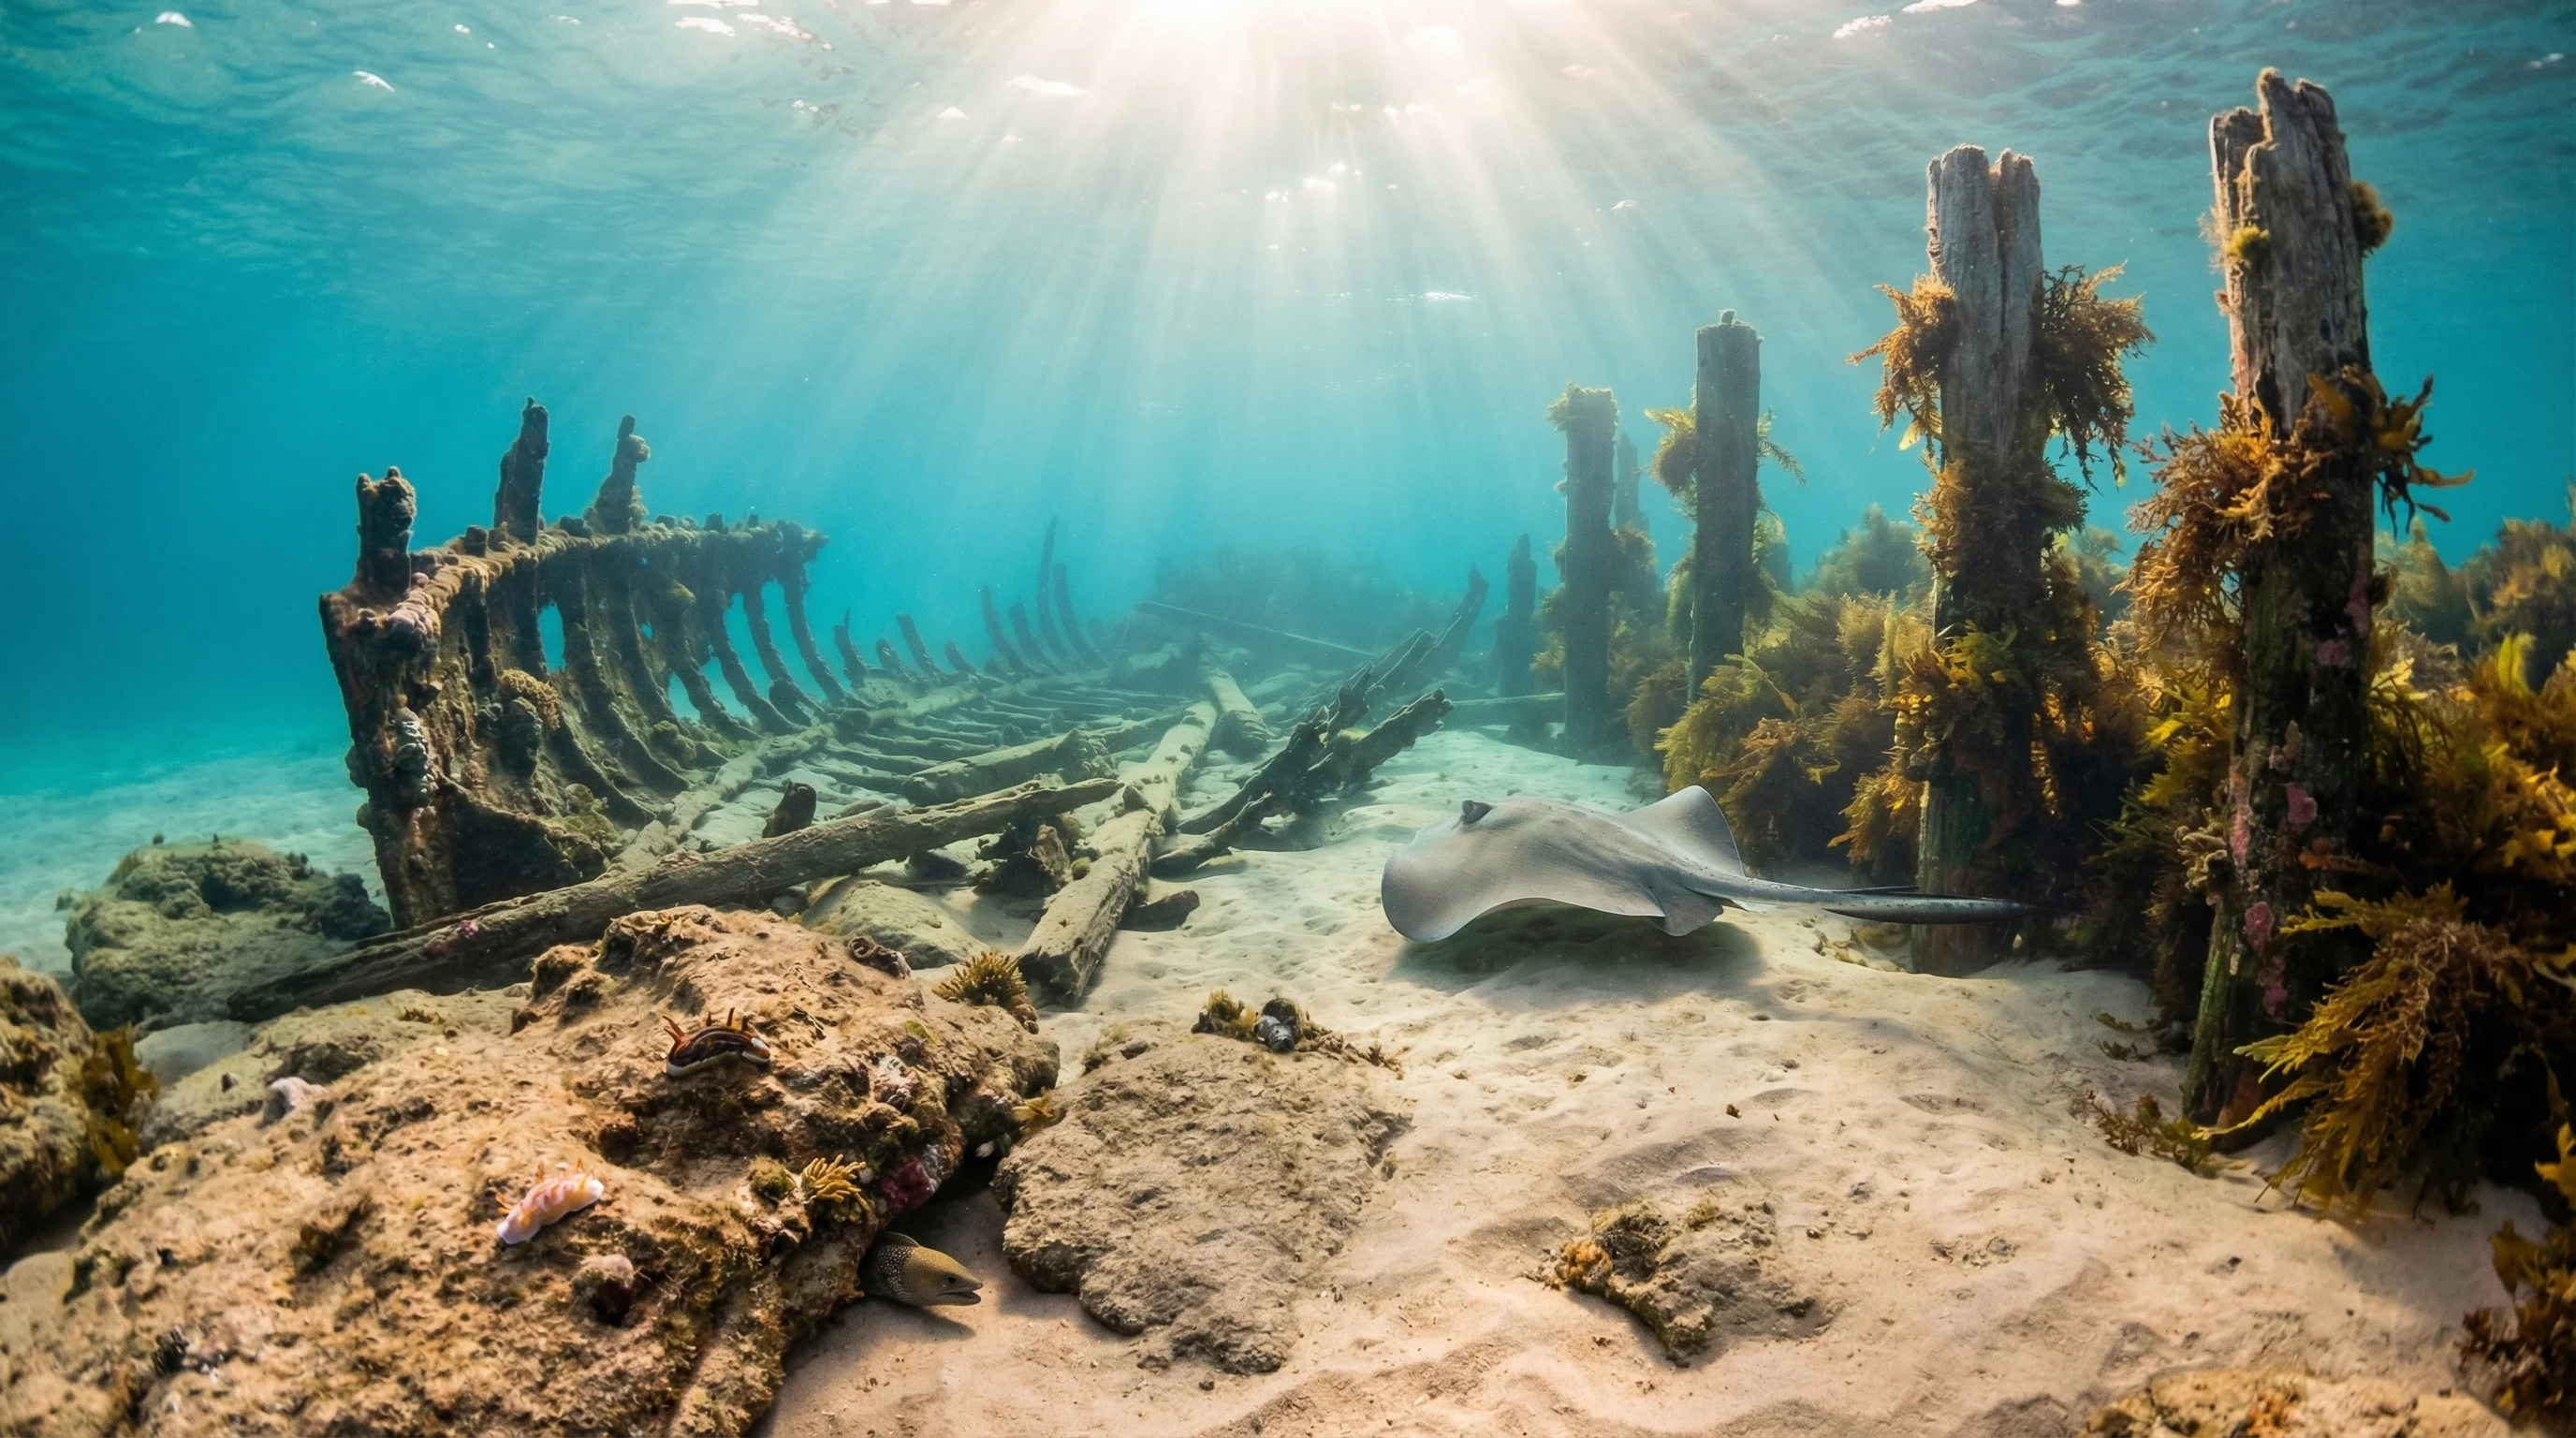
The wreck is accessible via a short 100m swim from the southern end of Belongil Beach, near the Main Beach car park.
Shuffle your feet when entering and exiting through the surf to avoid sharp rocks. Be aware of boat traffic and potential entanglement near the wreck. Watch for rip currents pulling you offshore.
Depth
5-6m
Visibility
5-10m
Skill Level
Beginner
Entry
Shore
Water Temp
18°C+
Current
Mild
Typical Dive
40 min
Best Time
Year-round
Main Beach Wreck - Tassie III in North Coast is a shore dive. The wreck is accessible via a short 100m swim from the southern end of Belongil Beach, near the Main Beach car park.
Yes, parking is available near Main Beach Wreck - Tassie III. Arrive early during peak seasons as spaces can fill up quickly.
Main Beach Wreck - Tassie III in North Coast is well-suited for beginner divers and snorkellers. Conditions are typically calm with easy entry and shallow depths.
Diving at Main Beach Wreck - Tassie III in North Coast requires the following certifications: Open Water. Always dive within your training limits.
A 7mm wetsuit or semi-dry is recommended for diving at Main Beach Wreck - Tassie III in North Coast. Water temperatures can drop to 18°C.
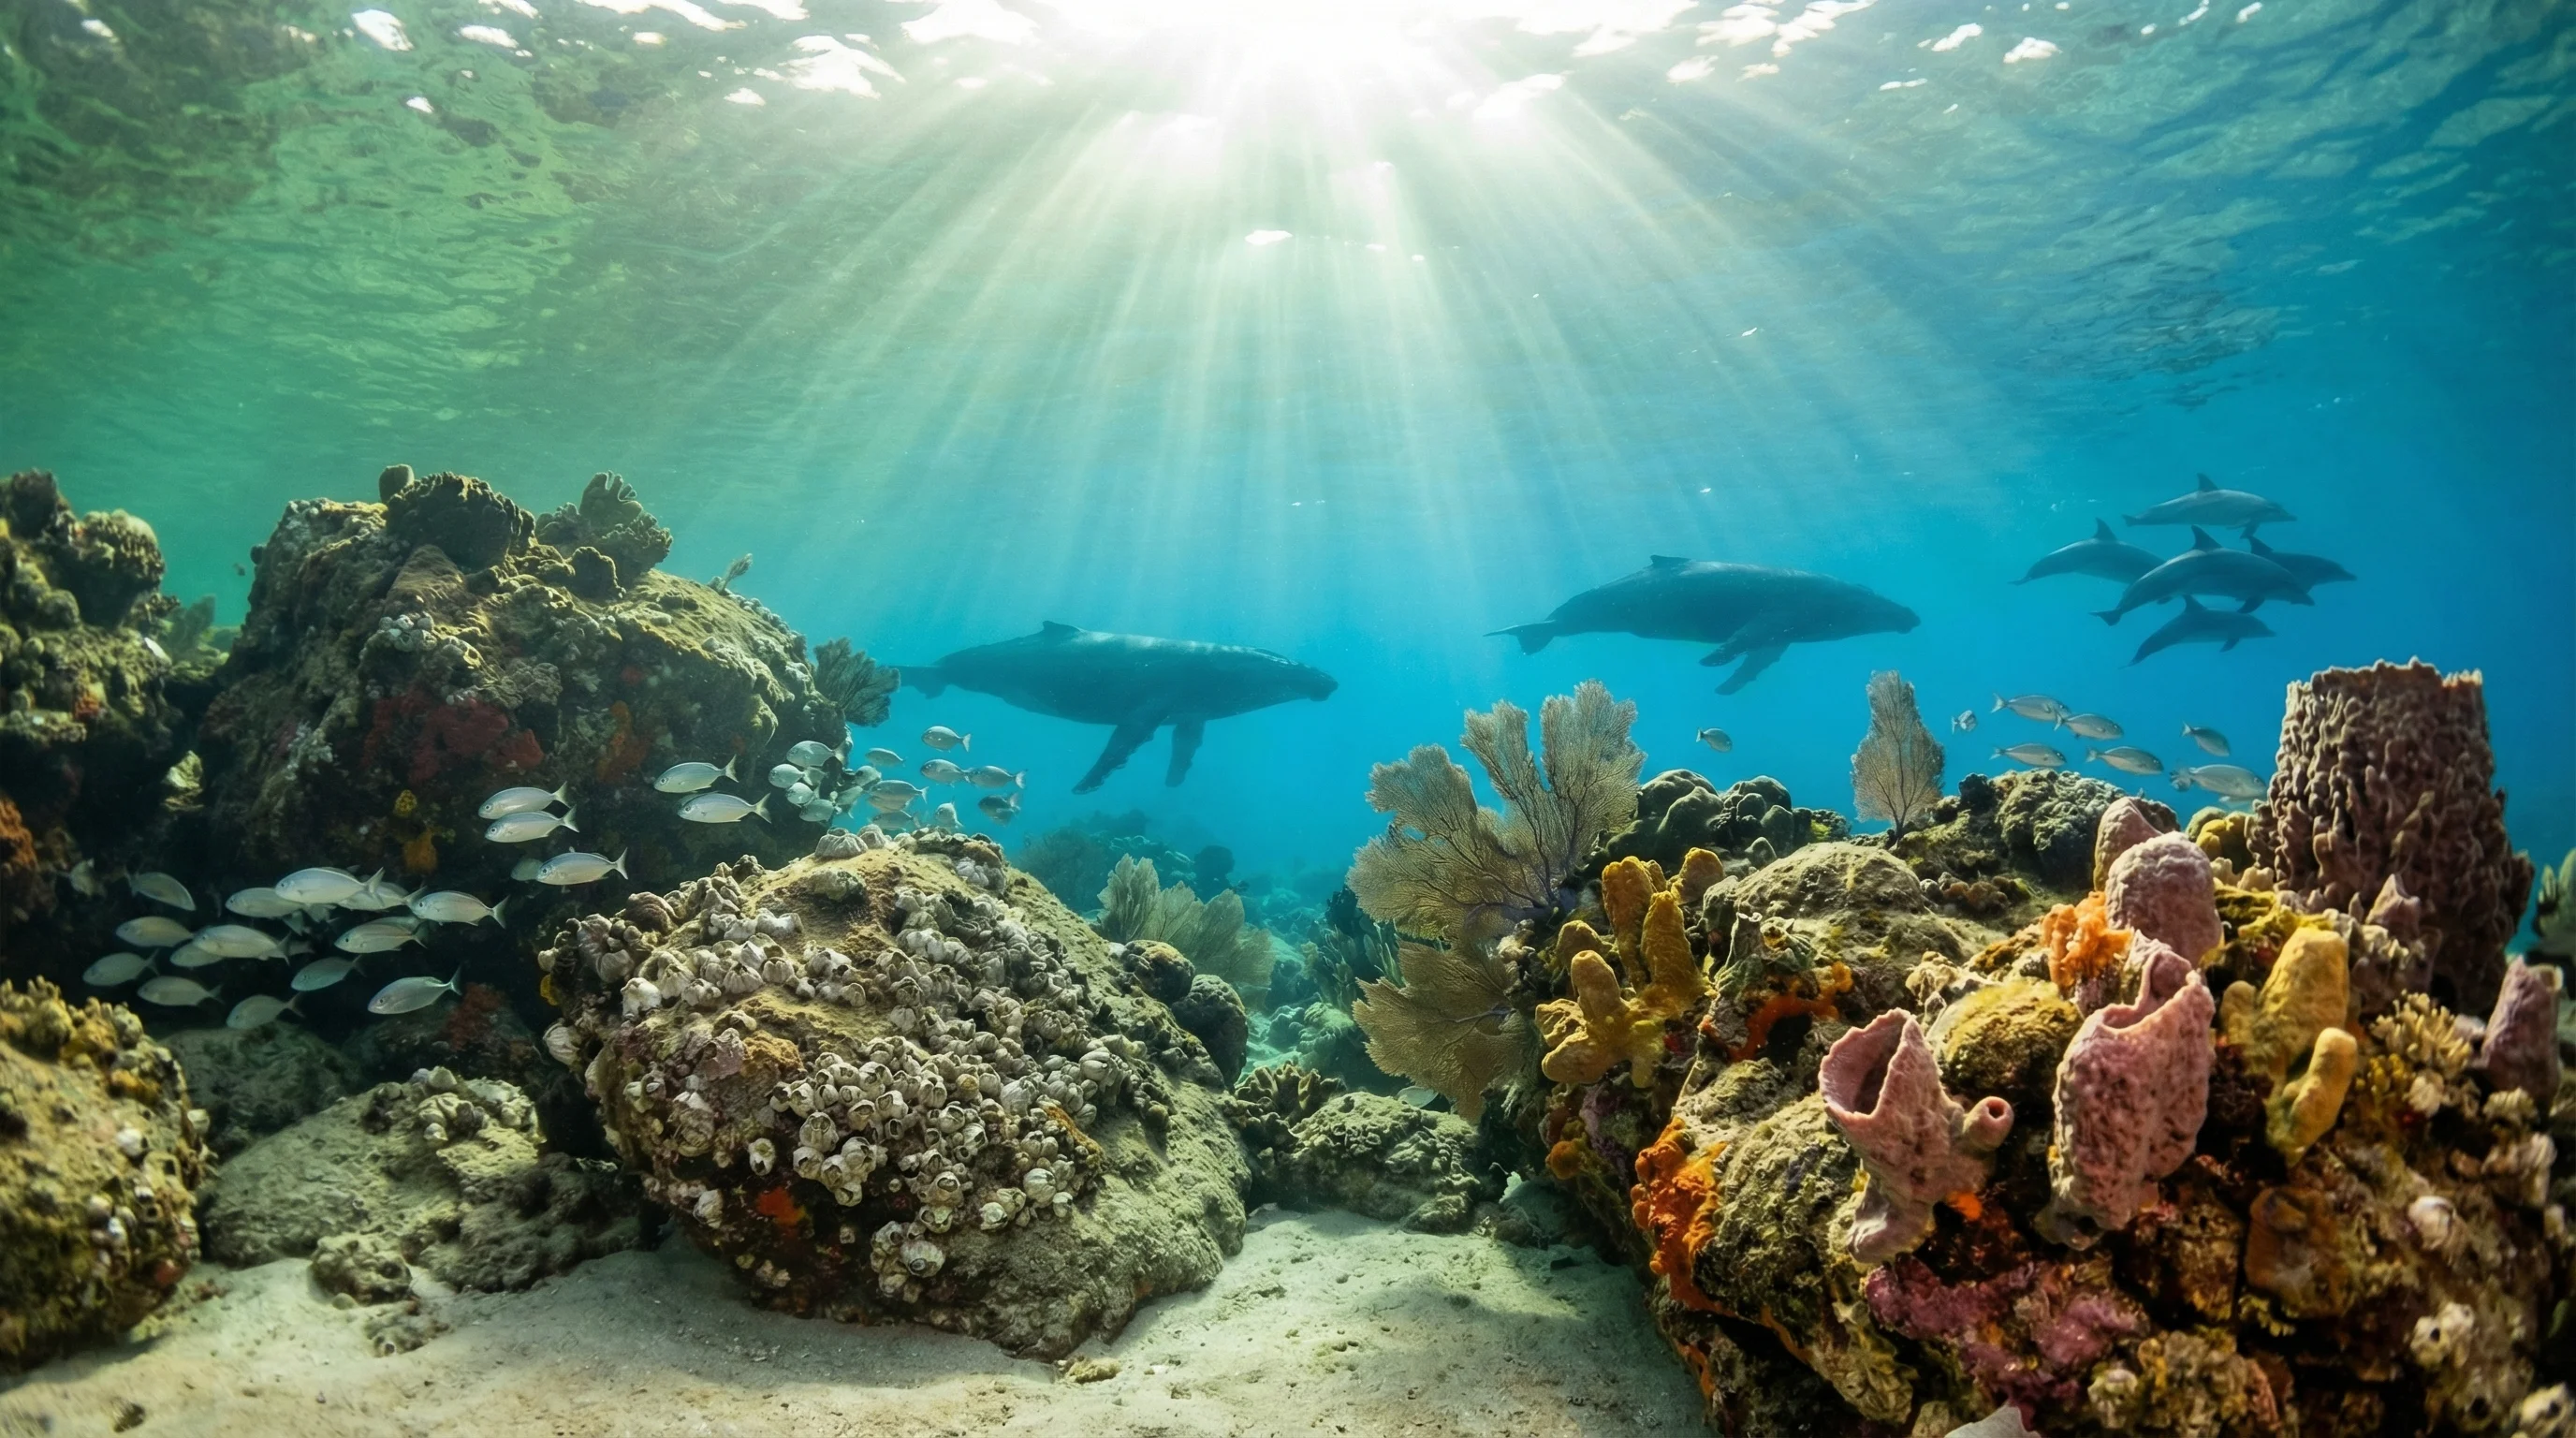
Main Beach Wreck - Tassie III in North Coast is home to Seaweed Garden Life, Octopus, Shovel Nose Rays, Turtle, Ray, and Nudibranchs. Marine life sightings vary by season and conditions.
The best months to visit Main Beach Wreck - Tassie III in North Coast are January, February, March, April, May, June, July, August, September, October, November, and December. Conditions outside these months can still be good but are less predictable.
Main Beach Wreck - Tassie III in North Coast has depths ranging from 5 metres to 6 metres.
Yes, Main Beach Wreck - Tassie III in North Coast is suitable for snorkelling. Shallow areas start from 5 metres, making it accessible for snorkellers.
A typical dive at Main Beach Wreck - Tassie III in North Coast lasts approximately 40 minutes. Actual dive time depends on depth, air consumption, and conditions.
Main Beach Wreck - Tassie III in North Coast typically has mild currents that most divers can handle comfortably.
Visibility at Main Beach Wreck - Tassie III in North Coast typically ranges from 5 metres to 10 metres. Conditions vary with weather, tides, and seasons.